

The Complete Guide to Installing Authentic Moroccan Zellige
Zelligerar Installation Manual — Read in full with your installer
Read this guide, in full, with your installer, prior to beginning installation. To ensure proper installation based on your unique site conditions, clients are responsible for hiring a skilled installer with experience in Moroccan zellige tiles. Zelligerar is not responsible for installation, ongoing care, or issues arising after receipt of product.
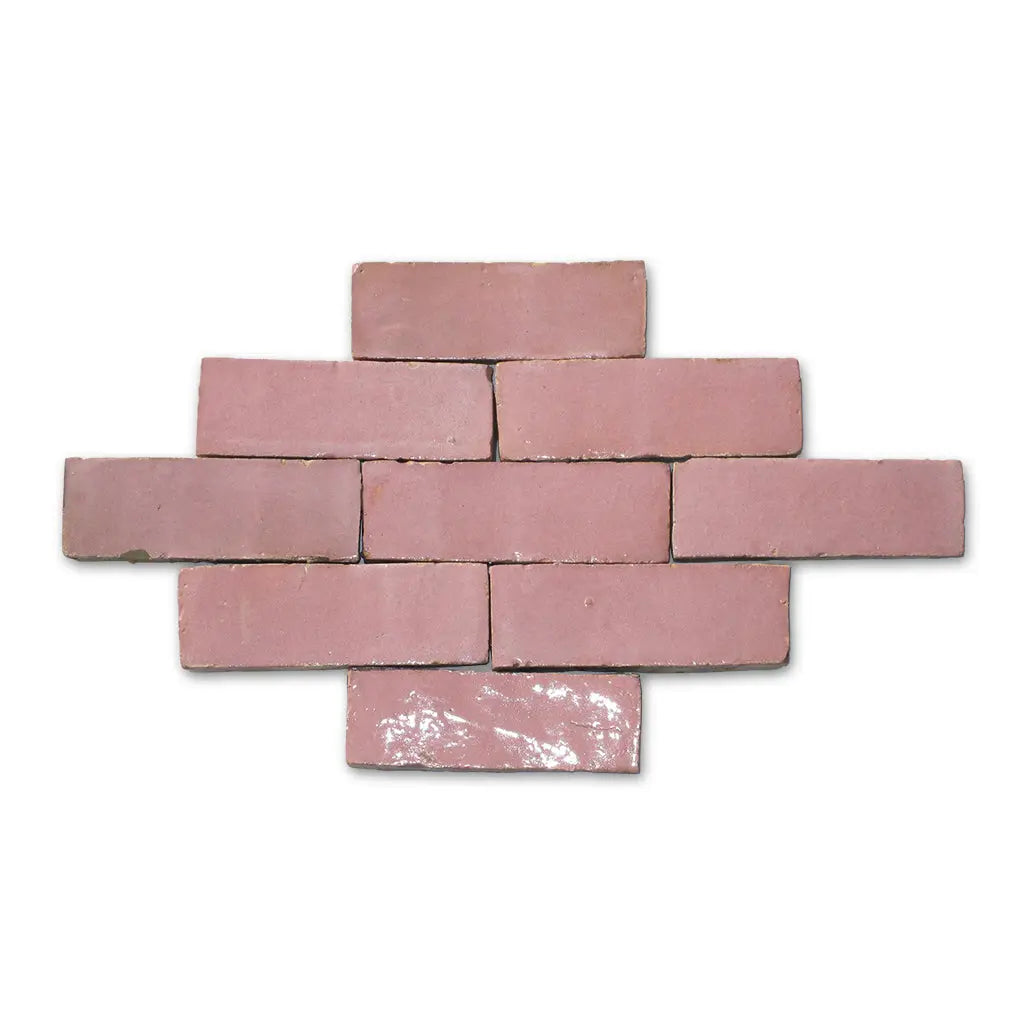
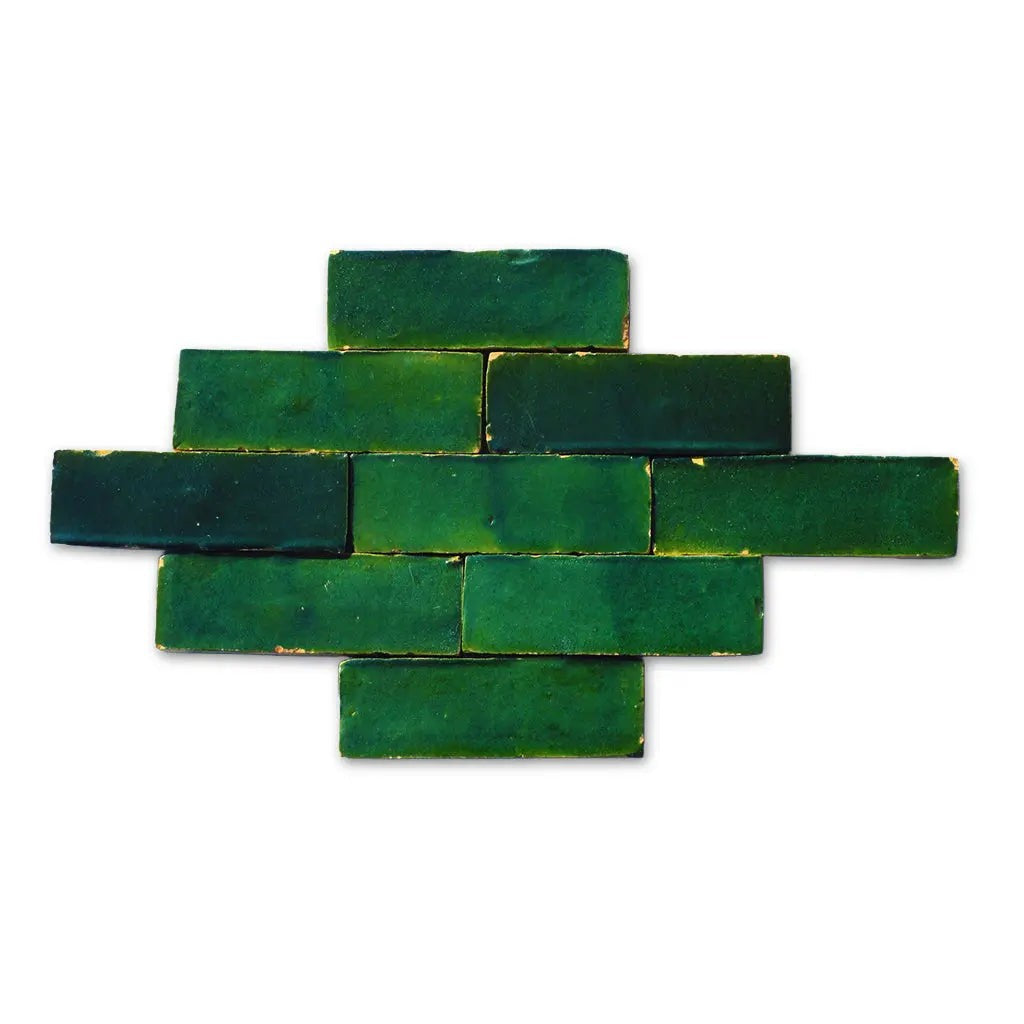
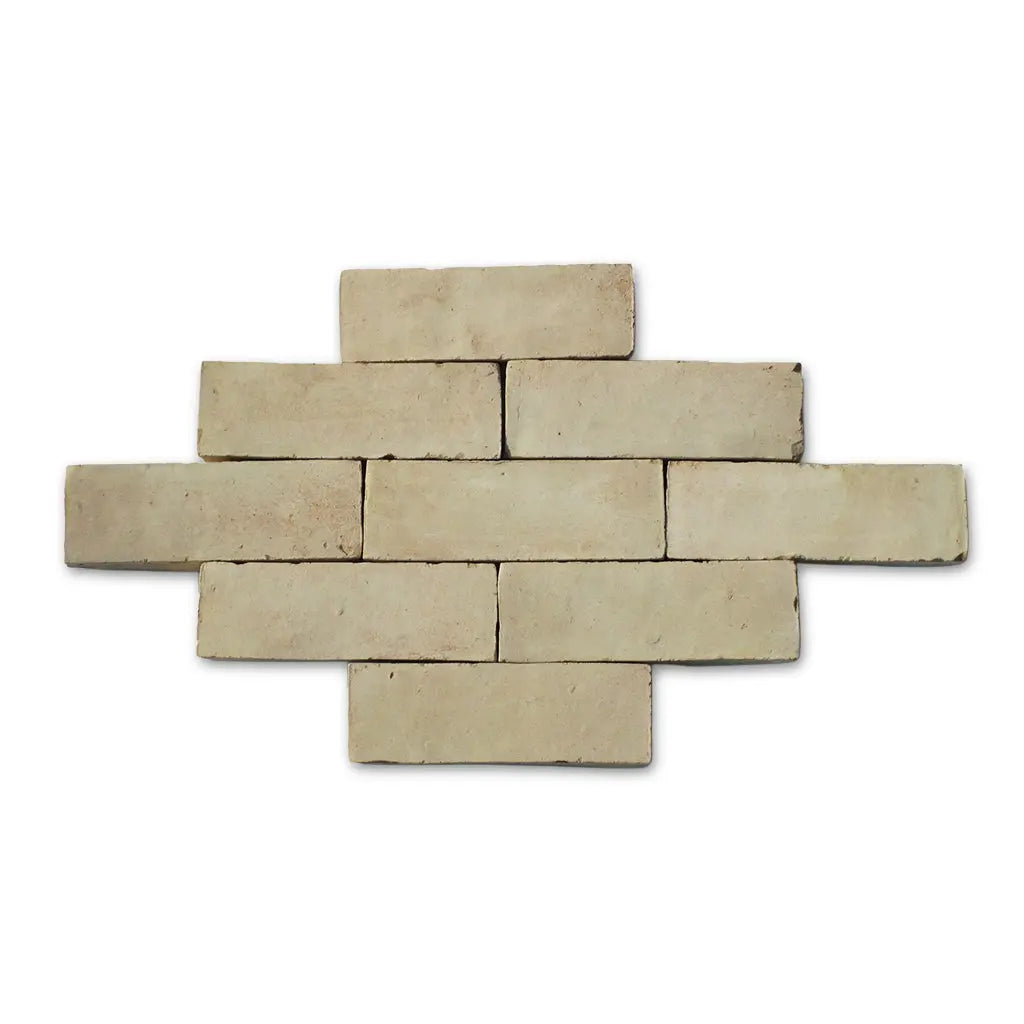
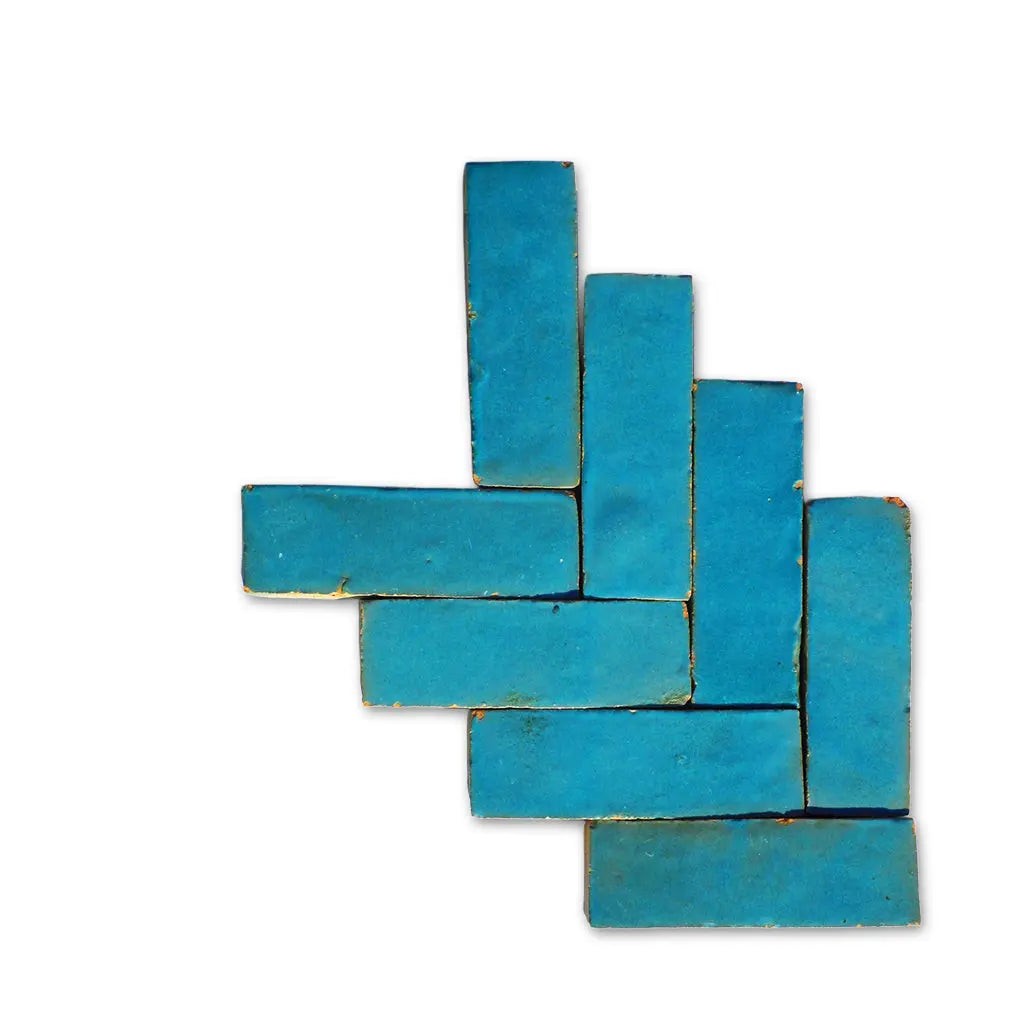
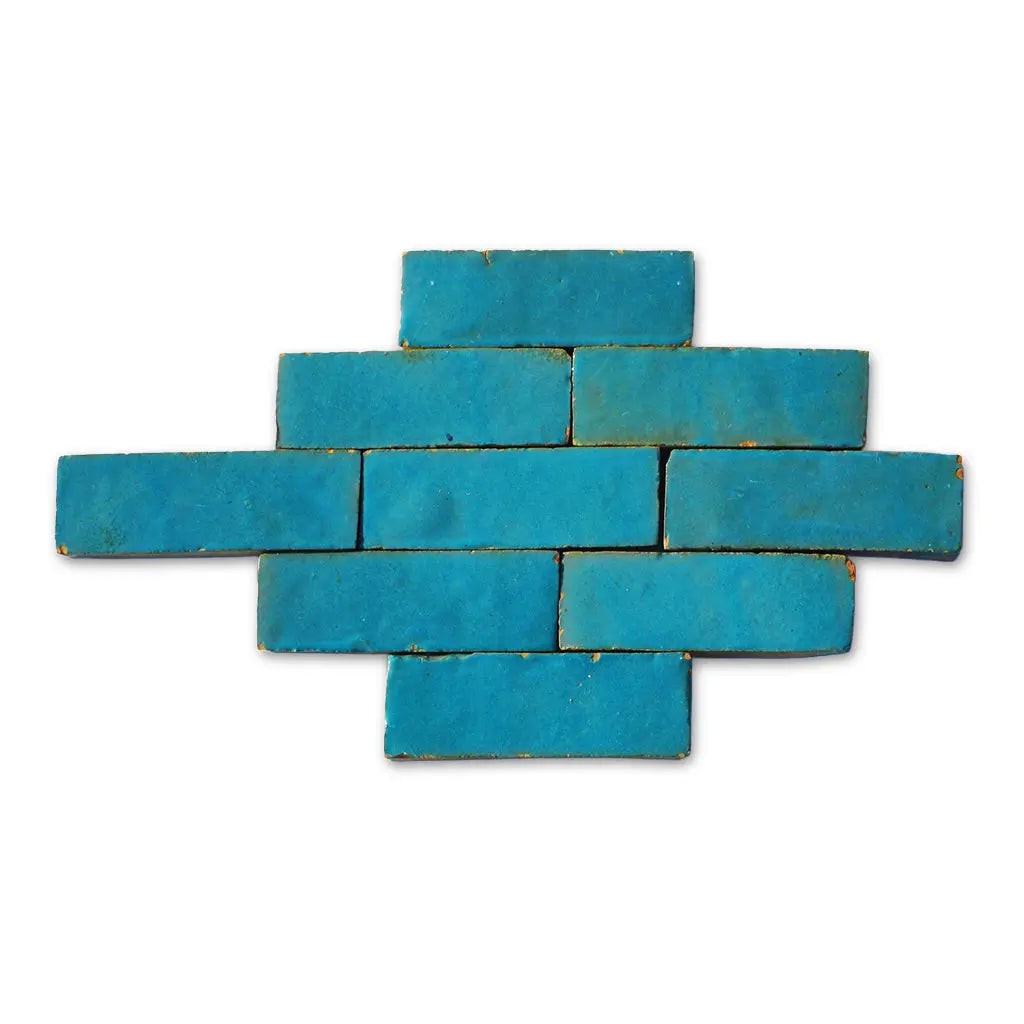
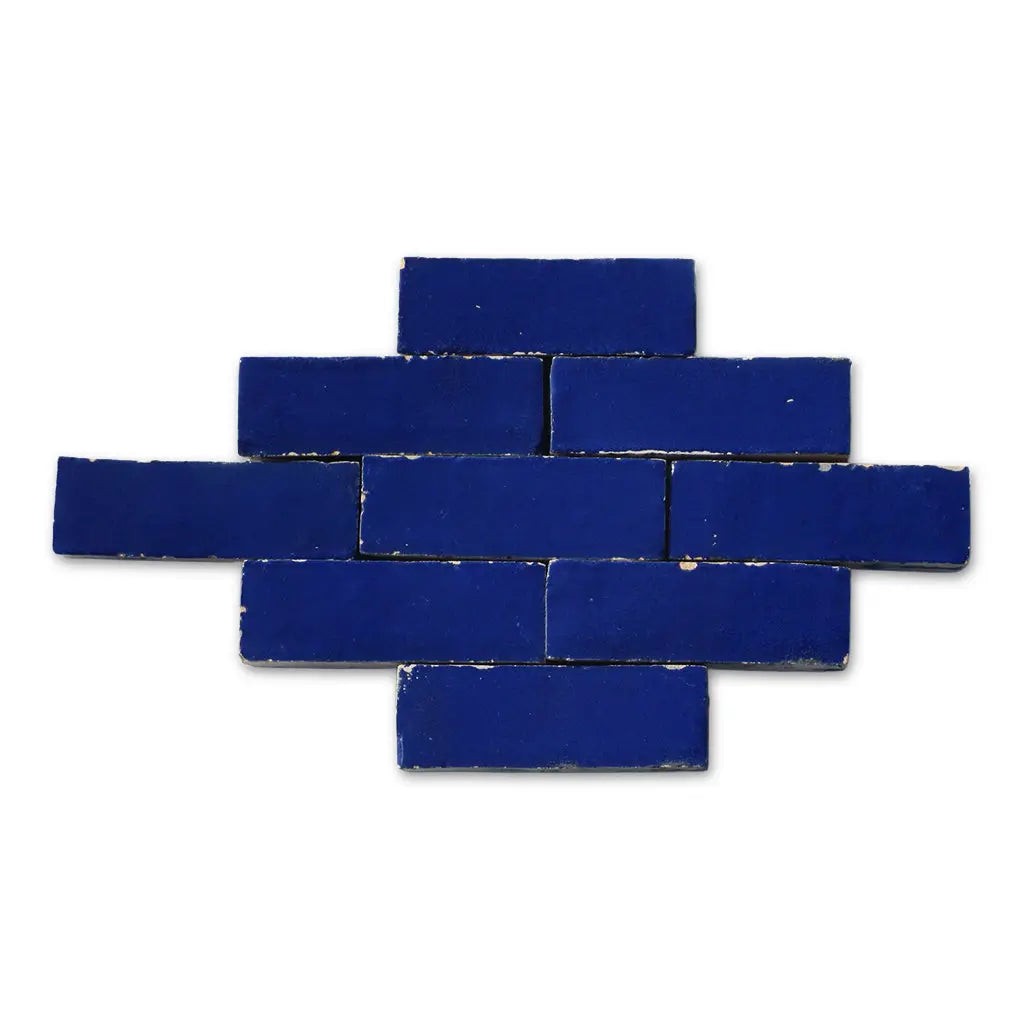
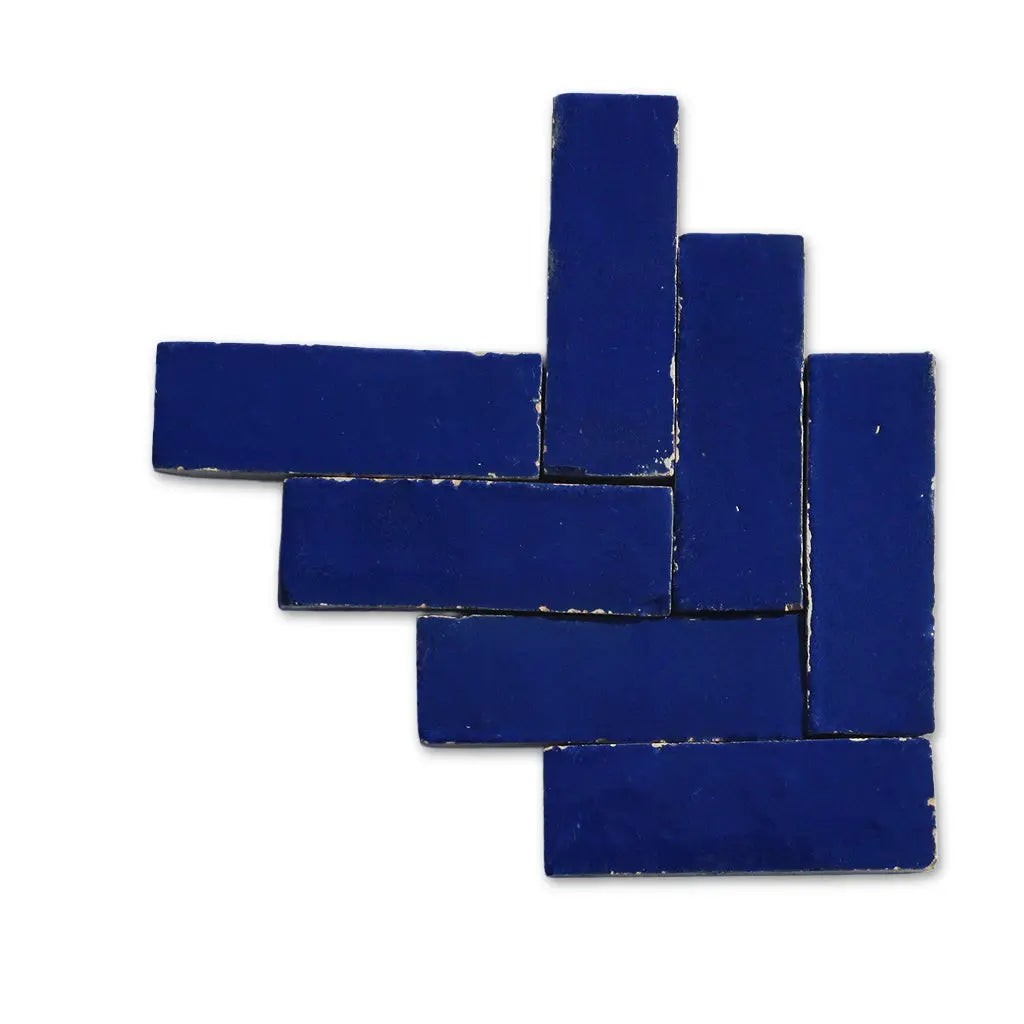
Because these tiles are handmade using centuries-old methods, expect variation in color, shape, and size within your order. Your sample may not be an exact match, and tiles added to future orders may be produced at a different time, resulting in additional variation.
If you are not prepared to work with these inherent zellige characteristics and follow the instructions below, we recommend choosing a more uniform tile type for your installation.
Throughout this guide, look for the (!) symbol for additional steps that apply exclusively to Unglazed Natural Zellige.
Inspecting Your Order
Please inspect your order thoroughly upon receipt. Zelligerar cannot be held responsible for tiles that have already been installed.
Each piece of zellige is shaped and glazed by hand. Expect approximately 15–20% of tiles to feature imperfections — including hairline cracks (crazing), edge chips, and surface pits exposing the clay body. These are not defects; they are the hallmark of authentic zellige. Matching grout will fill these pits and blend the aesthetic beautifully.
- Standard overage: A minimum of 15% overage is strongly advised to account for transit breakage, cuts, and natural variation.
- For a more uniform look: Order 20–25% overage so your installer can curate out heavily pitted tiles — though doing so will reduce the authentic zellige character.
- Ink marks: You may see ink marks on tile surfaces from the handmade cutting process. These are easily removed with a damp cloth.
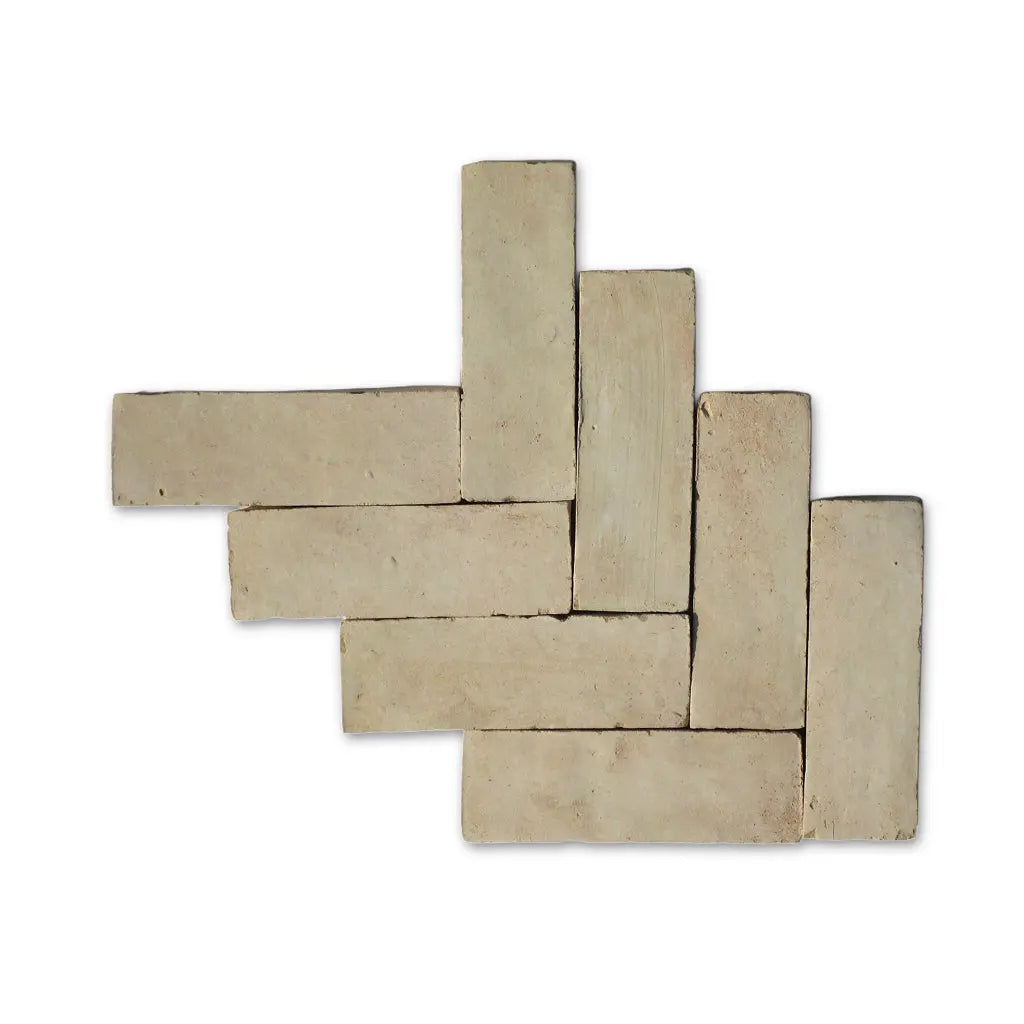
- Size & format: Our zellige tiles vary in size by nature (typically from 0.5" to 6" depending on the collection). Always measure pieces before laying out patterns — do not assume identical dimensions.
Layout & the Dry Run
Before mixing any thin-set, open all boxes and pull tiles randomly to blend the color variations evenly. Lay all zellige tiles out in the installation area. You should be an active participant in this step — select color tones and optimal variation prior to installation.
For smaller-format zellige tiles (such as 2"x2" or mosaic pieces), separate tiles from multiple sheets and remix them before setting so variation is evenly distributed across the installation.
Keep in mind: lighting dramatically affects the appearance of zellige. More direct natural light makes tiles appear brighter; shadowed installations will look darker. Grout color is an equally important design decision — browse our full tile collection to help decide which grout pairing suits your project best.
Required Tools & Materials
Setting the Tiles
- High-quality medium-bed thin-set mortar
- Trowel (notched)
- Tile leveling wedge spacers
- Water-cooled tile saw with diamond edge blade
- Sponge, bucket
- Grout float (rubber)
- Mapei Ultracolor Plus FA (glazed zellige)
- (!) Mapei Flexcolor CQ (unglazed only)
Cleaning & Sealing
- pH-neutral cleaner (e.g., Miracle Sealants Heavy Duty Cleaner)
- Paint roller, paint tray
- Lint-free cotton cloth
- 511 Porous Plus Penetrating Sealer (wet areas & all unglazed)
- (!) FILA Matte Wax Sealer (unglazed only)
Step-by-Step Installation
Soaking the Tiles
Soak all Glazed Zellige tiles in room-temperature water for 1–2 minutes to remove shipping dust and ensure proper mortar adhesion.
Do NOT soak Unglazed Natural Zellige. Soaking unglazed clay can lead to efflorescence that is extremely difficult to remove.
Setting the Tiles
Unglazed Natural Zellige only: Work in small sections no larger than 2'×2' at a time. Immediately wipe away any residual thin-set from the tile surface — it is extremely difficult to remove once cured without damaging the tiles.
Pre-Grout Sealing
This section applies to Unglazed Natural Zellige only. Glazed zellige does not require pre-grout sealing.
After laying the tile and prior to grouting, apply 511 Porous Plus Penetrating Sealer in thin layers until the tiles become fully saturated. Immediately wipe off any excess sealer before it dries — over-application will result in an undesirable waxy film on the surface.
Allow the sealer to cure fully (typically 48 hours) before grouting. Do not proceed to grouting unless your sealer is fully cured. Always follow the sealant manufacturer's instructions.
For glazed zellige in wet areas (showers, pools, spas, fountains), apply 511 Porous Plus Penetrating Sealer after grouting is complete.
Grouting
We do not recommend dry-stacking zellige in any application. Grout is required to protect the fragile terracotta edges from chipping over time, and to fill the natural surface pits that give zellige its traditional character.
- Glazed zellige: Use Mapei Ultracolor Plus FA.
- Unglazed Natural zellige: Use Mapei Flexcolor CQ.
- Using a rubber float, press grout deeply into all joints, gaps, surface pits, and edge chips.
- Carefully wipe away excess grout with a damp sponge immediately. Grout left to dry on the surface is very difficult to remove after curing.
Top-Coat Sealing
Clean and dry the tiles completely before sealing, removing all residual mortar or debris. Do not leave spills, footprints, or marks on tiles prior to sealing.
Unglazed Natural Zellige only: Apply FILA Matte Finish Protective Wax in thin layers until fully coated, wiping off any excess before it dries. Do not over-apply. Allow 1–2 days to cure before using the space. Do not use FILA Matt Wax in outdoor applications — UV rays can cause discoloration over time. For outdoor applications, re-seal with 511 Porous Plus Sealer after grouting.
Trim & Edges
We recommend installing zellige floor-to-ceiling, or bringing drywall flush with the tile's finished surface, to eliminate the need for trim entirely.
- Mitered corners: Your installer should miter outside corners at a 45° angle — two tiles meeting at the edge creates a clean, traditional finish without ordering custom trim pieces.
- Metal trim: If trim is required, we recommend Schluter strips, available at schluter.com.
Ongoing Care & Maintenance
Over time, your zellige will develop a beautiful natural patina — a hallmark of this ancient tile tradition. Expect natural wear, fine surface lines (crazing), and a deepening of character over the years.
Daily Cleaning
- Vacuum or sweep floors regularly to remove abrasive material that can scratch the surface.
- Clean with a pH-neutral cleaner such as Miracle Sealants pH Neutral Tile and Stone Cleaner.
- Promptly clean up spills, especially oils and grease — stains on unglazed zellige may be permanent.
Re-Sealing
Unglazed Natural zellige and glazed zellige in wet areas should be re-sealed at least every 1–2 years, or more frequently depending on traffic and wear. Always re-seal in accordance with sealant manufacturer's instructions.
Optional Grout Sealing
If you wish to seal your grout, do so in accordance with both the grout and sealant manufacturers' instructions.
Zellige Tile Variation Scale
Your tiles are rated High on the variation scale
Installers should always wear a protective face covering and eye protection when unpacking, cutting, and installing Zelligerar products, as well as when working with mortar, sealants, grout, and other materials. If extensive cutting is required, this work should be done outdoors or in a well-ventilated area. Always wash hands well with soap and water after working with tiles and before eating. WARNING: Cancer and Reproductive Harm — P65Warnings.ca.gov